On windows 10, the clipboard is a convenient feature from where you can paste your selected items anywhere from the clipboard. In a clipboard, you can store data such as text, videos, files, images for copy and paste for a short time. However, in recent windows, a new update comes up with the added settings and interface to the clipboard.
As you can store any virtual data to your clipboard so obviously the privacy issue comes with this. If you share your device with anyone definitely you would like to protect those data from the other person so that your data doesn’t get compromised. Here the question arises of how to clear clipboard in Windows 10. Here you will get 3 different easiest ways to clear your clipboard in Windows 10 within a minute!
How to clear clipboard in Windows 10
Here we will go through the guides to clear the clipboard in Windows 10 with illustrations so that we can save our personal data from the other person.
Clear clipboard in Windows 10 using shortcut
For clearing clipboard in Windows 10 using the shortcut you have to follow these 3 easy steps:
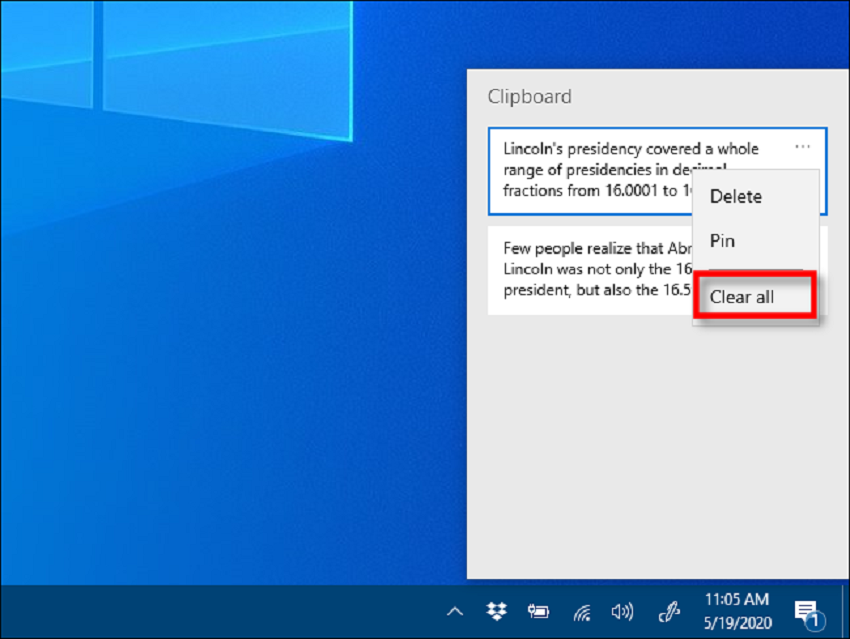
- Press Windows+V keyboard shortcut. A small window will pop up in front of you.
- Click the menu button (3 dotted) in the top right corner.
- Just select the delete button to delete that specific item.
Besides, you can also select the clear all to remove all the items saved in the clipboard. Thus all of the items will be deleted at a time. After this process, the item will be deleted from the clipboard and you are ready to share your device safely.
Clear history of the clipboard from Settings
To clear the history of the clipboard from settings on Windows 10 you have to follow these simple steps:
Go to Settings => System => Clipboard => Click Clear Clipboard Data
If you click on the Clear button then all the history on the clipboard will be erased. It is equivalent to the ‘clear all button.
Turn off Clipboard History
Another way to clear the clipboard in Windows 10 can be to disable Clipboard History. If you once disable your clipboard history turns off then if you copy a certain item it will not be copied into the clipboard. The advantage of doing this is that you don’t have to go to the settings options or clicking the ‘Windows+V’ shortcut for removing histories.
For disabling Clipboard history you have to go through the following steps:
- Click on the Start Button
Or you can press ‘Windows+i’ for directly opening setting options
- Go to the ‘System’
- On the ‘Settings sidebar,’ you will find that Clipboard option. From there you can directly turn off/disable the clipboard. On the other hand, if you don’t find that clipboard option directly on the sidebar you can go to the ‘search box which is on the top left corner of the settings. There you can find out the clipboard option after searching for it.
After disabling Clipboard options, you can again click the Windows+V for opening the clipboard option. There you can see a small window showing you that ‘Can’t show history’. That means your inner engineering did this magic by themselves.
You may also like to read, Nine almost indispensable applications to work with your photos in Windows


