Are you an Apple Music subscriber who wants to enjoy your favorite tunes on your MacBook? Apple Music offers a vast library of songs, albums, and playlists, but sometimes, accessing them on your MacBook might require some authorization steps. In this article, we will guide how to authorize apple music on macbook, ensuring you can groove to your favorite beats hassle-free.
Why Authorize Apple Music?
Before we delve into the authorization process, let’s understand why it’s necessary. When you authorize Apple Music on your MacBook, you grant permission to access your subscription content. This ensures you can stream and download your favorite songs and playlists from the Apple Music catalog. Additionally, authorization allows you to sync your music across your Apple devices, making it convenient to enjoy your music on various platforms.
If you’re a music producer, you might be wondering how to change tempo pro tools. It’s actually quite simple. Just head to the “Event Operations” menu and select “Time Compression/Expansion”. From there, you can change the tempo of your audio track to your desired speed.
Step-by-Step Guide to Authorize Apple Music on MacBook
Here’s a step-by-step guide to help you authorize Apple Music on your MacBook:
Step 1: Open Apple Music
Launch the Apple Music app on your MacBook. You can find it in the Applications folder or by searching for it using Spotlight.
Step 2: Sign In with Your Apple ID
If you haven’t signed in already, click on “Account” in the top menu bar and choose “Sign In.” Enter your Apple ID and password to log in to your Apple Music account.
Step 3: Access Your Account Settings
Once you’re signed in, click on “Account” again in the top menu bar, and this time, select “View My Account.” You may be prompted to enter your Apple ID password again for security purposes.
Step 4: Go to the “Authorization” Section
In your Account settings, navigate to the “Authorization” section. Here, you’ll find options related to authorizing your MacBook for Apple Music.
Step 5: Click “Authorize This Computer”
Under the “Authorization” section, locate and click on the “Authorize This Computer” button. This will initiate the authorization process.
Step 6: Enter Your Apple ID Password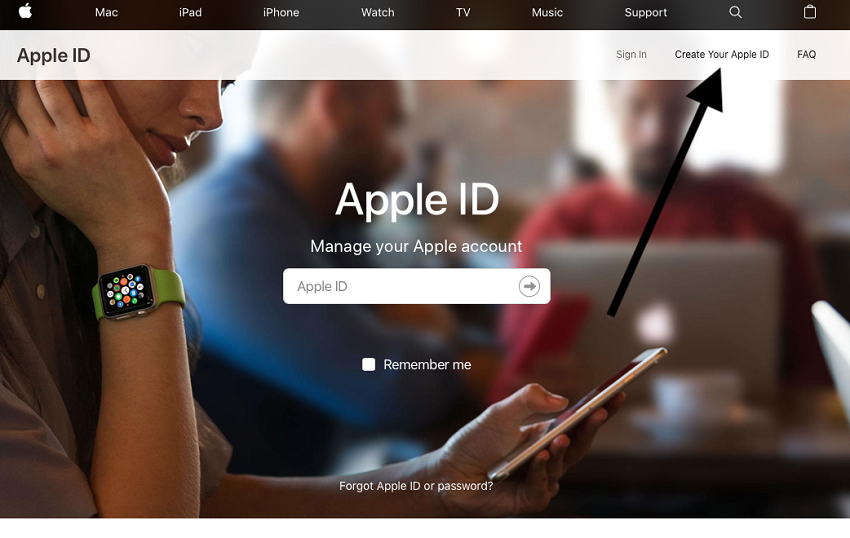
To proceed with the authorization, you’ll need to enter your Apple ID password once more. This ensures that you are the rightful owner of the Apple Music subscription. Discover HOW TO OPEN DMG FILE ON IPAD
Step 7: Confirm Authorization
After entering your password, click “Authorize” to confirm the authorization of your MacBook for Apple Music.
Step 8: Enjoy Your Music
Congratulations! Your MacBook is now authorized to access your Apple Music subscription. You can now enjoy streaming and downloading songs, albums, and playlists to your heart’s content.
Frequently Asked Questions (FAQs)
Q1: How many devices can I authorize for Apple Music?
A: You can authorize up to five devices with your Apple Music subscription, including Mac, iPhone, iPad, iPod Touch, and Windows PCs.
Q2: Do I need an Apple Music subscription to authorize my MacBook?
A: Yes, you need an active Apple Music subscription to authorize and access the full catalog of songs and playlists.
Q3: Can I deauthorize a device later if I no longer use it?
A: Absolutely! You can deauthorize a device from your Apple ID account settings if you no longer wish to use it for Apple Music.
Q4: Can I share my Apple Music subscription with family members?
A: Yes, you can use Apple’s Family Sharing feature to share your Apple Music subscription with up to six family members.
Q5: Does authorizing my MacBook give access to my iTunes purchases too?
A: No, authorizing your MacBook for Apple Music only grants access to your Apple Music subscription content, not your iTunes purchases.
Conclusion
Authorizing Apple Music on your MacBook is a simple process that allows you to fully immerse yourself in the world of music. By following the step-by-step guide provided above, you can ensure seamless access to your favorite tunes and playlists on your MacBook. Now, get ready to enjoy an unparalleled musical experience on your Apple device.