How many times in real life you wished you could use a keyboard shortcut? For example, after doing something really stupid desired you can press a hypothetical Control + Z to undo the mess, a Control + S to save the process and loaded later or Control + C and Ctrl + V to make repetitive tasks.
For the above cases have to still wait, but there is a digital shortcut you can already use in the real world, more or less, Control + F, that if you are not put on the subject is usually the keyboard shortcut to search text within a document. A shortcut that saves you from having to manually review pages and pages of text looking for what interests you.
Of course, Control-F is not a magic application, but a curious and easy way to submit an application that facilitates the process of using optical character recognition in a text to search their text. It is not the first application that it includes this feature, although that makes it easier by his assistant step by step.
1. Install Control-F
The first step is obviously to make the application. The you’ll find Google Play under the name Control-F, even after installation if you are unable to find it because its name is MuPDF, which is really another application of very similar characteristics. It is not clear what the relationship between the two.
2. Scan a document
The next step is to scan the document in question, by clicking the icon of the camera or from the side menu, choosing Scan document. If you do not have the document in front but you took the photo above, you can also choose Use existing image to open it from the Gallery.
When taking a picture, you should consider the following tips to ensure greater success in your search word…
- Make sure the text is perfectly focused
- Take pictures with sufficient lighting
- Make the picture as straight as possible
- Captures the text, do not cut any line
3. Highlight the piece of text
The next step is to cut the piece of text in which you are interested. Try to be as accurate as possible in the crop to achieve a better result. The smaller the text, the faster the OCR text recognition.
You can also rotate the text if it had imported rotated. Otherwise, the recognition fails and not be able to find any text.
You may also like to read another article on FreshLookApp: Chrooma Keyboard 3.0: Changes color opens gestures, integrates with Google Now
4. Choose the language
Before you start analyzing the text, you must choose which language it is written. If you have not touched the options, you can choose between English, Spanish and German. However, if the text is in another language, you can download packages with support for many languages from the side menu – Manage languages.
5. Wait until the text is analyzed
Control-F will begin immediately afterwards to analyze the text in the image. The process is quite fast, and is accompanied by an animation showing the process of reading each word, so you do not get bored.
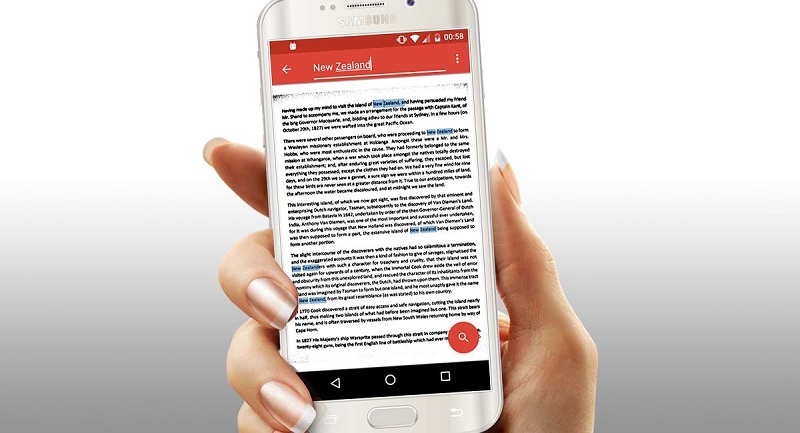
6. Look inside
Finally, you can now make the famous Control + F, which you promised at first. Simply start typing in the search box to search for text.
From the menu, you can also export the result as a PDF document with text embedded within (i.e. you can search the text).
In short, it is clear that Control-F does what it promises: let you search for text within “real” documents, although the process is slightly longer than we would like. If you are dealing with many documents and read them greatly bores you to find texts inside, you can save a lot of time.

